Guide to Power Wheels Tire Replacement
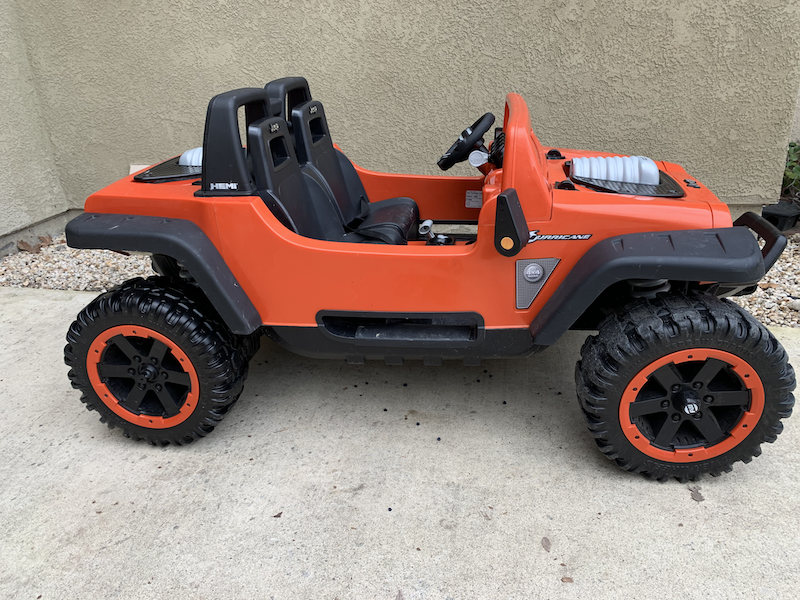
(on a Jeep Hurricane)
The tires on Power Wheels frequently end up with a lot of damage – especially on rough pavement – and can end up in dire need of replacement. This guide will walk you through how to replace Power Wheels tires. While I looked at YouTube videos and read guides online, none seemed to match up with the process for our Power Wheels tire replacement. The good news is that this is a pretty quick project. The first tire took me ~25 minutes which included figuring out how to replace the tire and taking pictures for this post; the second tire took me 7 minutes.
Takeaways
- Time: 7 – 15 minutes per tire
- Tools required: Phillips screwdriver(s)
- Parts required: Power Wheels replacement tires (Part # J4394-Q803-01, J4394-2529 for the Power Wheels Jeep Hurricane model – yours might be different)
- Always review your instruction manual and use common sense
Starting Off
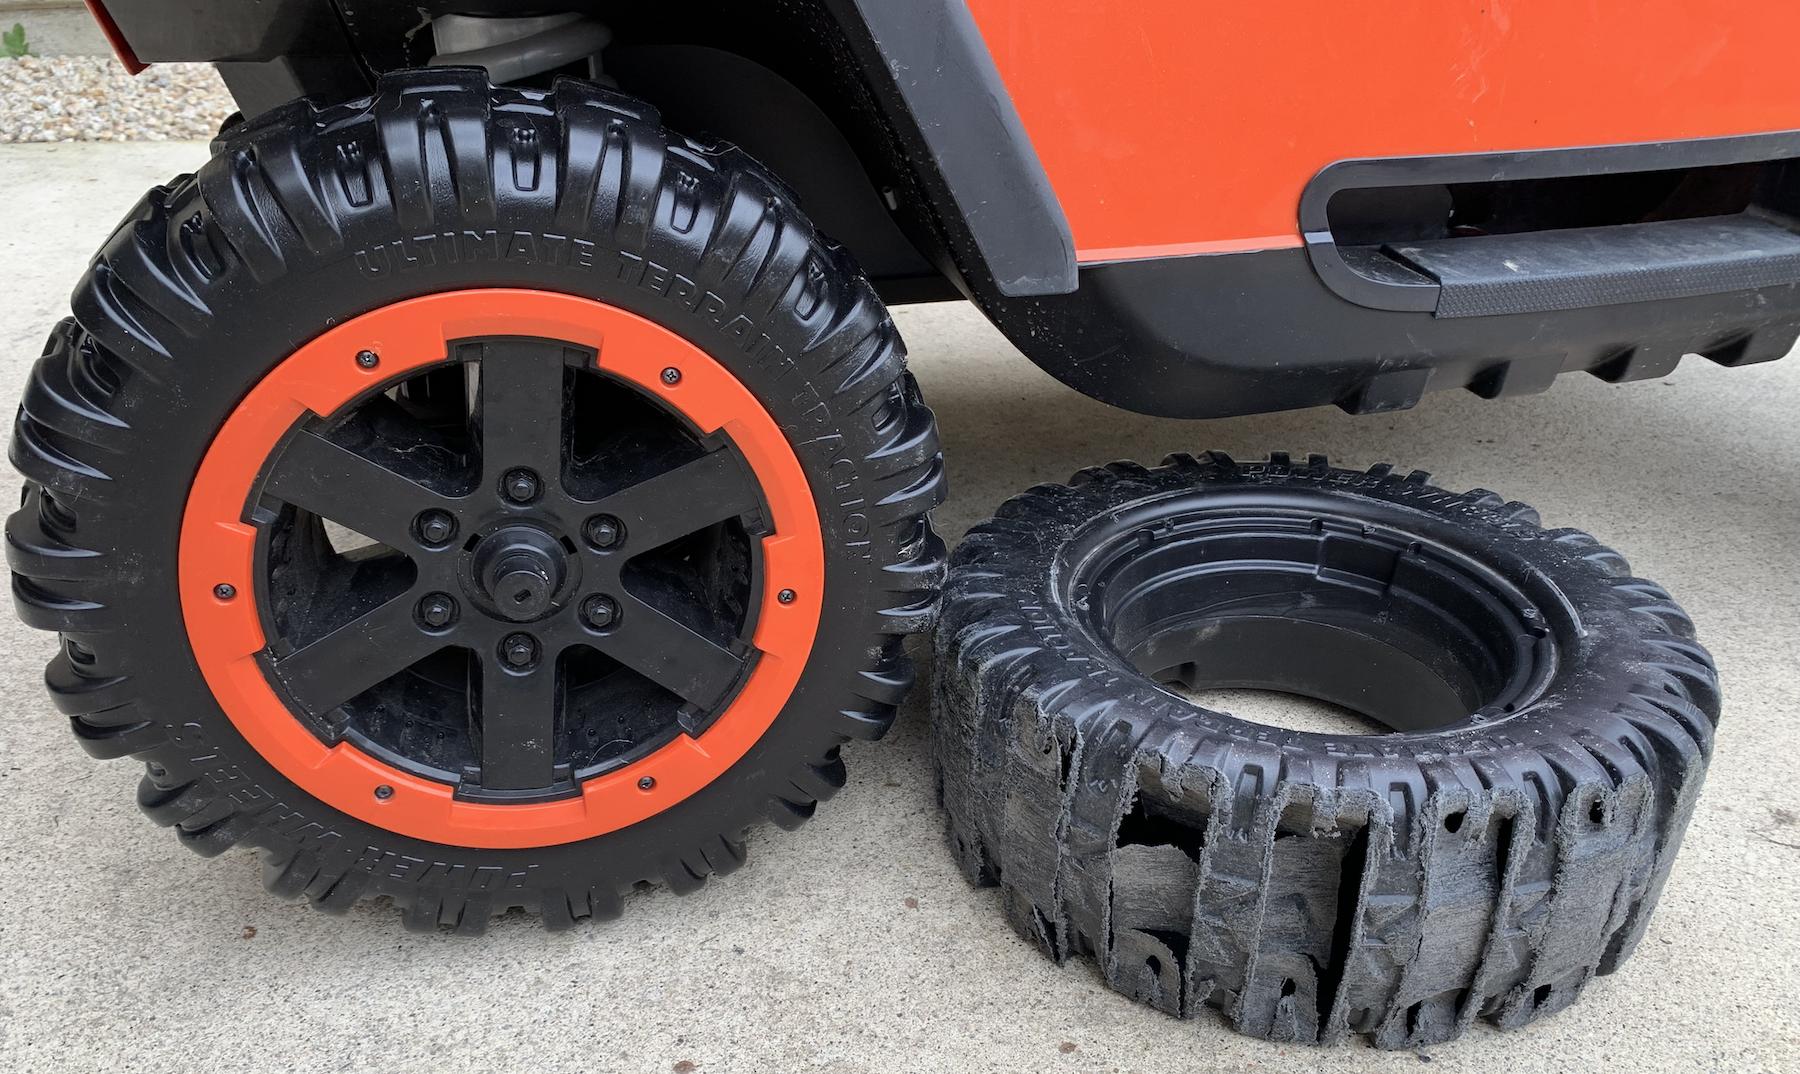
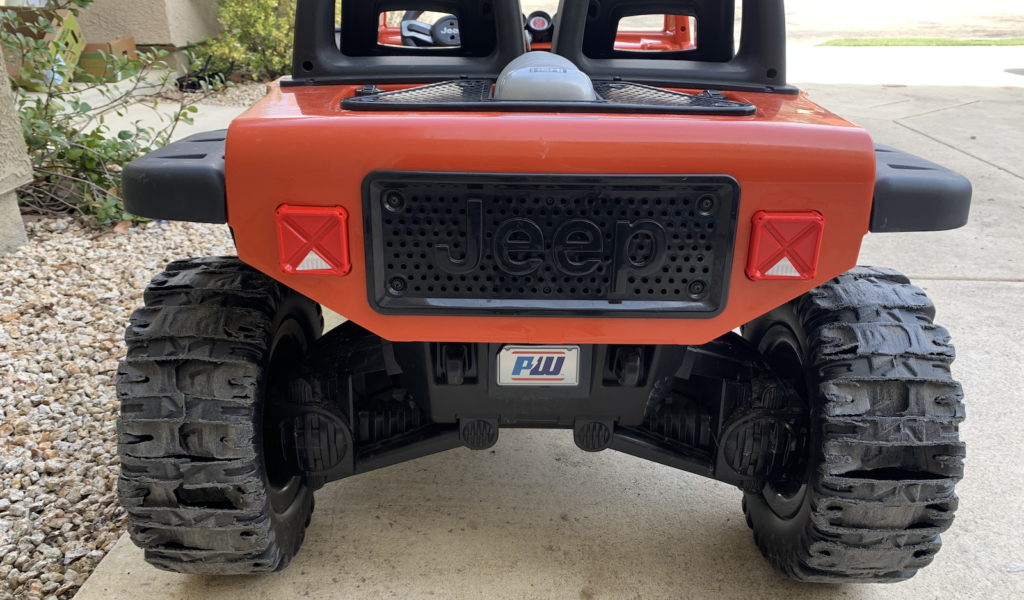
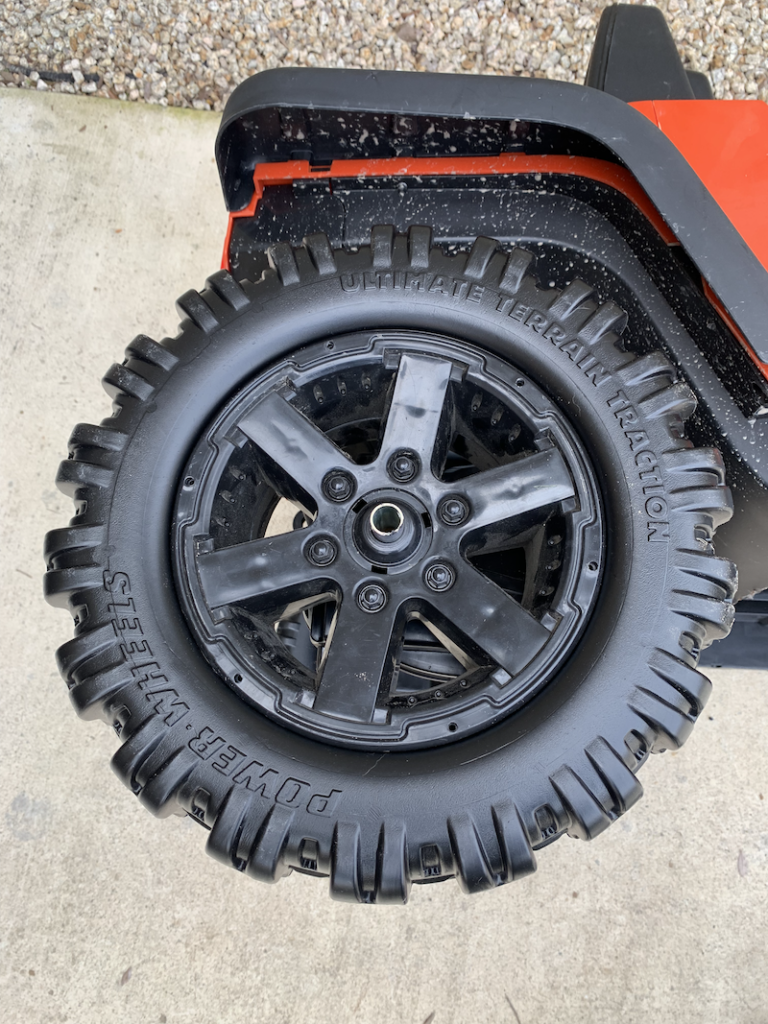
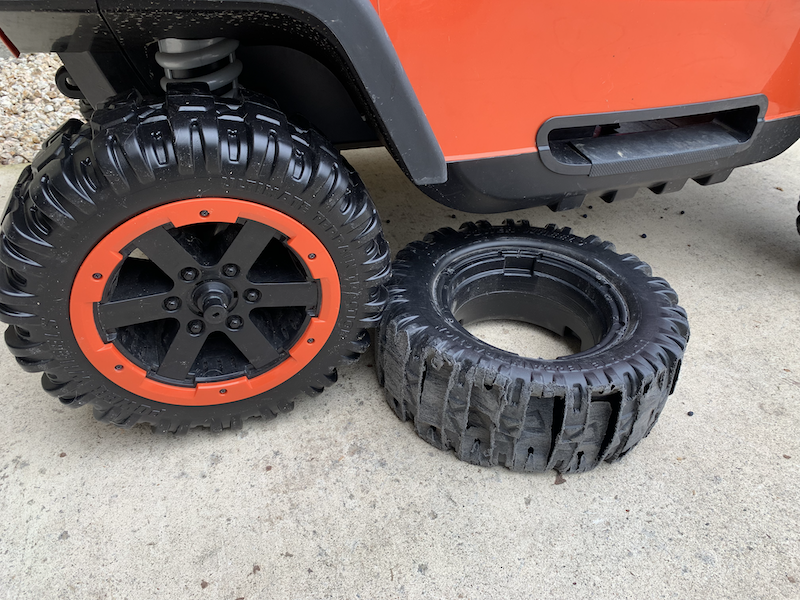
Our kids have thoroughly enjoyed the Power Wheels (the Jeep Hurricane model from Costco) – and after about a month and a half, the plastic tires looked like this. Our street is very rough and the Power Wheels is modded to run off an 18V Ryobi battery which means the wheels spin a lot.
The end result was that the rear Power Wheels tires were completely worn down, cracked, and had large holes as you can see in the picture here.
This guide will help you replace your Power Wheels tires quickly with minimal frustration.
I got the replacement tires from Walmart – while their prices were fairly similar to most retailers, their shipping was much cheaper. These are the replacement tires for the Jeep Hurricane that we bought. This is a link to a search for all Power Wheels tires at Walmart to get you started if you have a different model.
1. Remove the trim from the tires
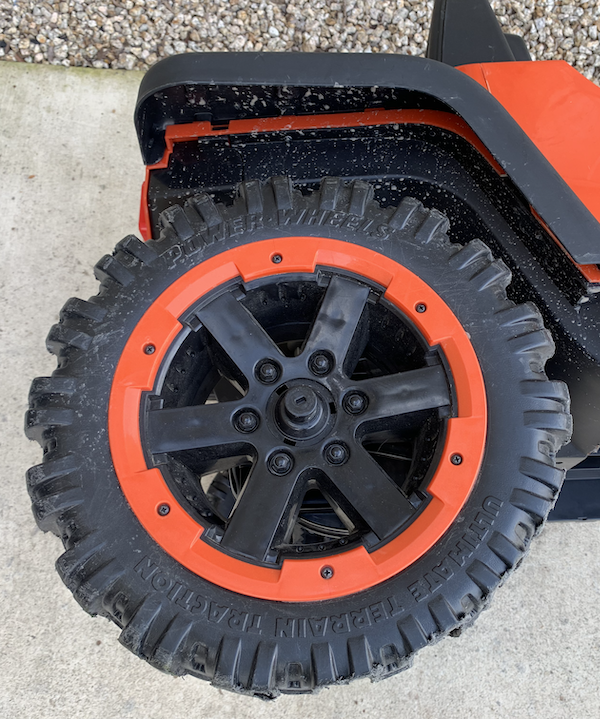
The tires may have a decorative trim / rim. Start by removing removing this with the phillips screwdriver.
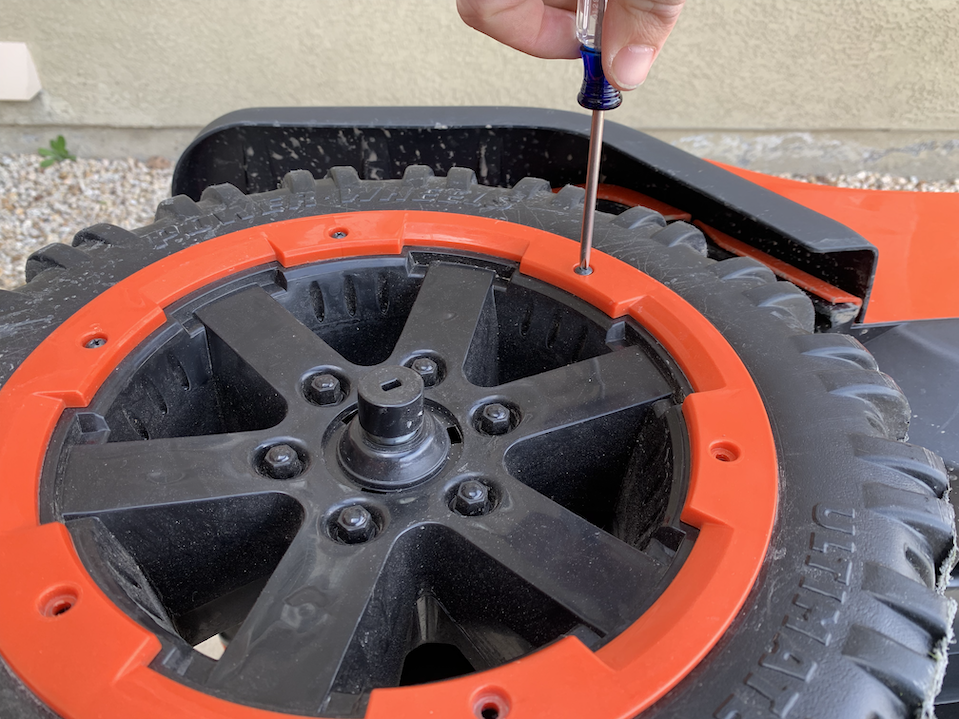
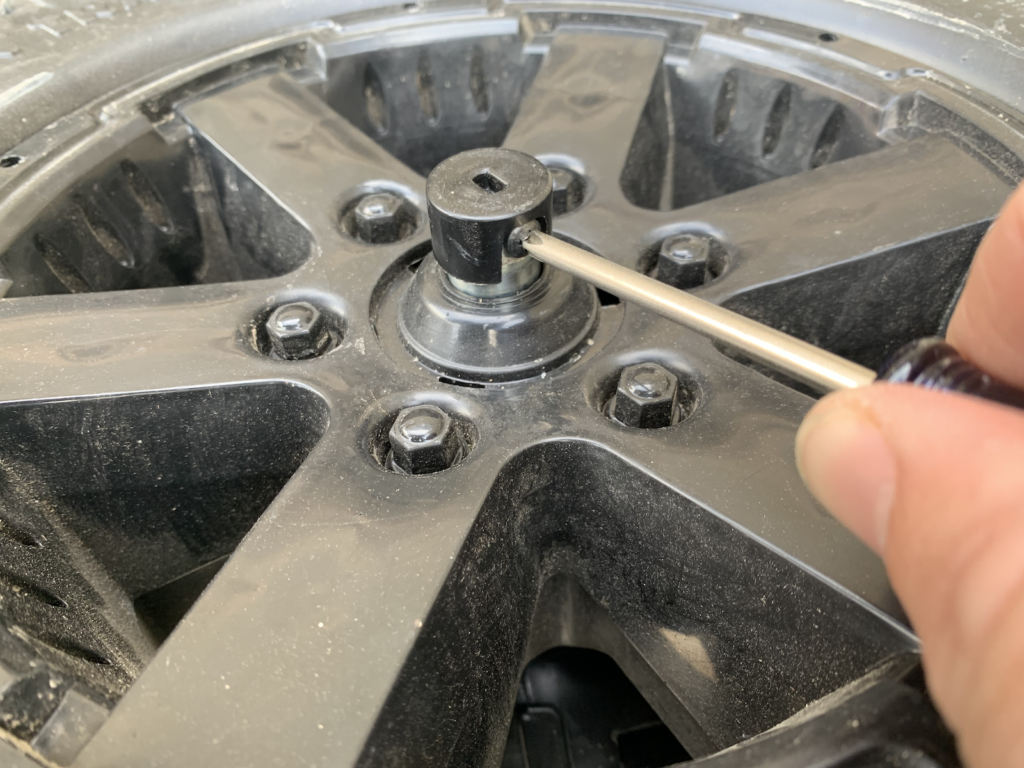
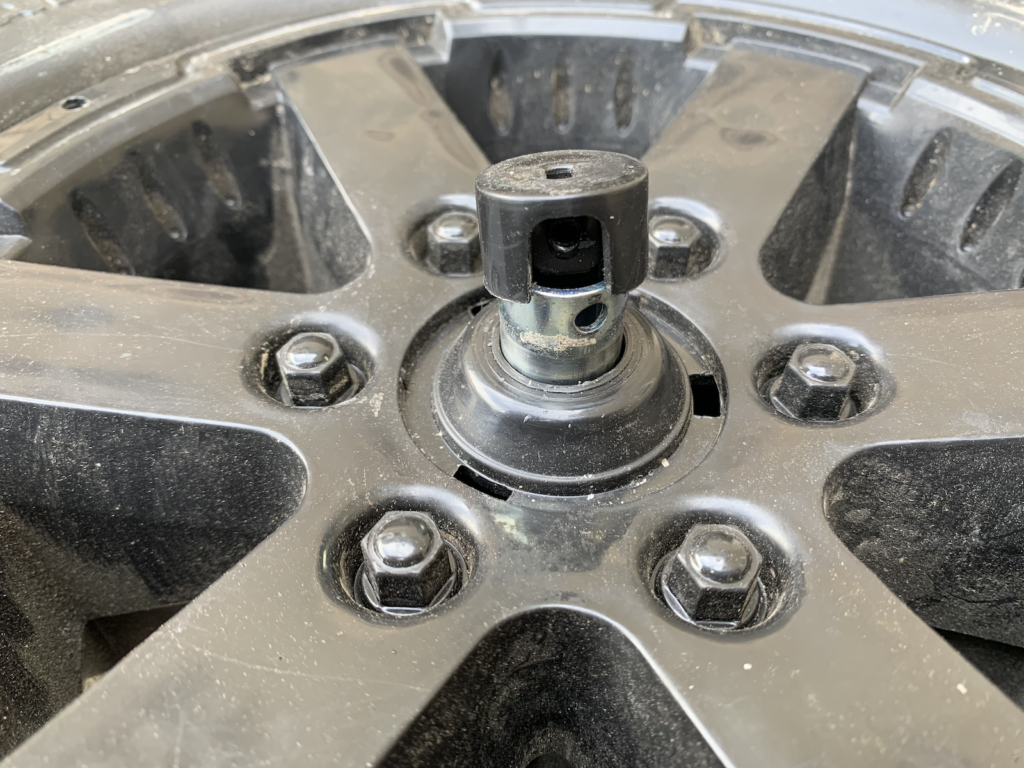
2. Unscrew the center axle lock
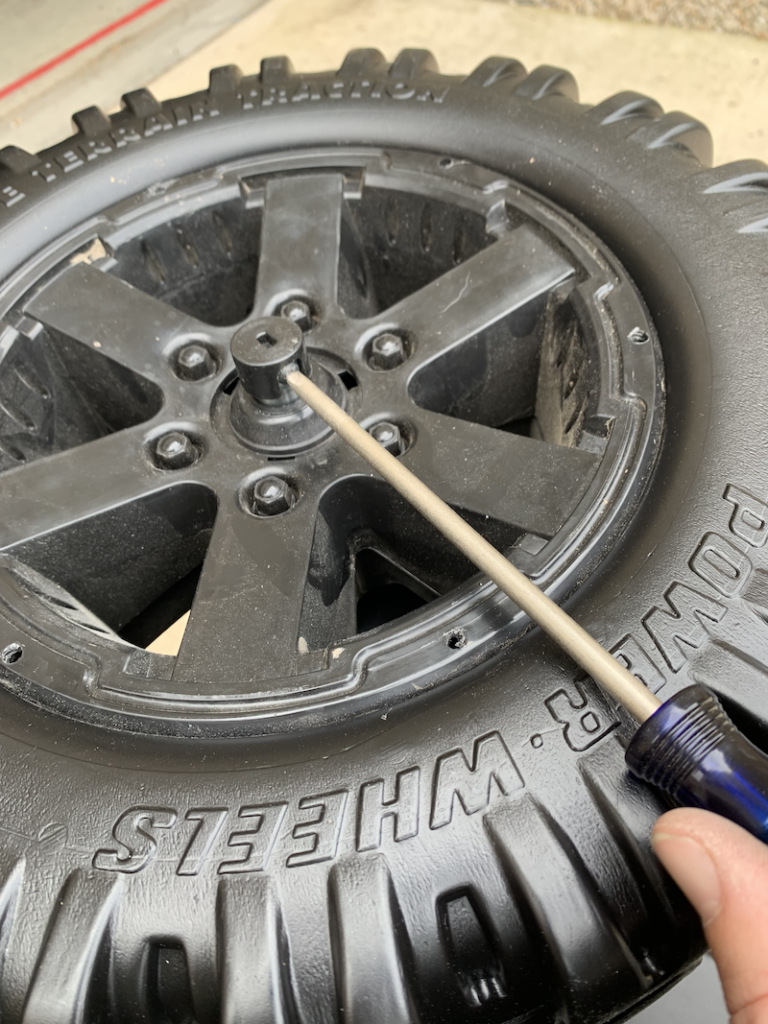
This center lock is what keeps the wheel on the axle. It looks like you can pop the cap off with a screw driver, but you can’t. There is another Phillips screw on the site that you have to unscrew. This screw goes through the plastic cap and keeps the wheels on the axles.
3. Pull off tire off the axle
It’s as simple as it sounds, pull the plastic wheel off the axle. It might stick a bit, but just pull straight up.
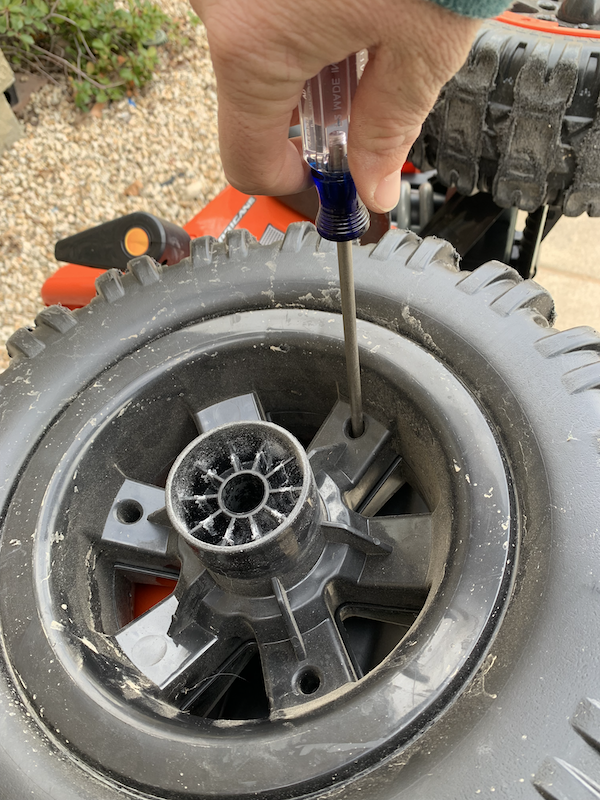
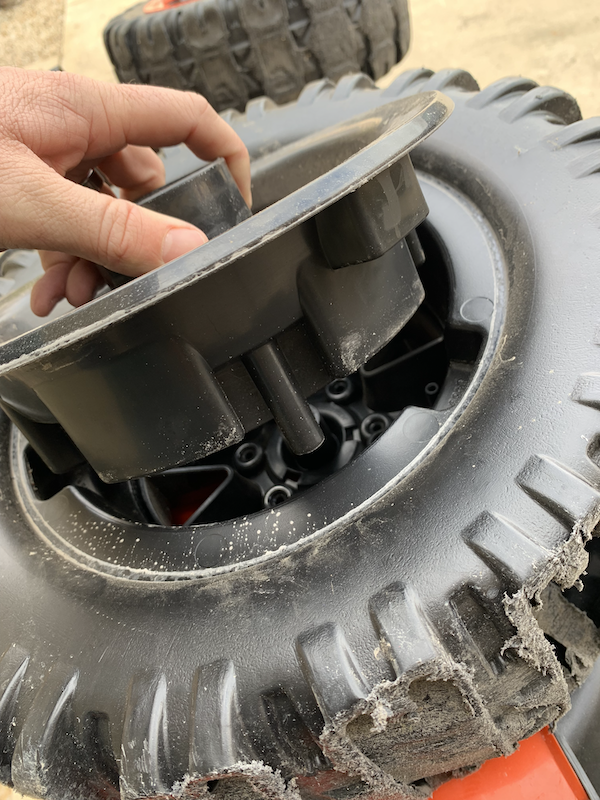
4. Unscrew the back of the rims / wheel center
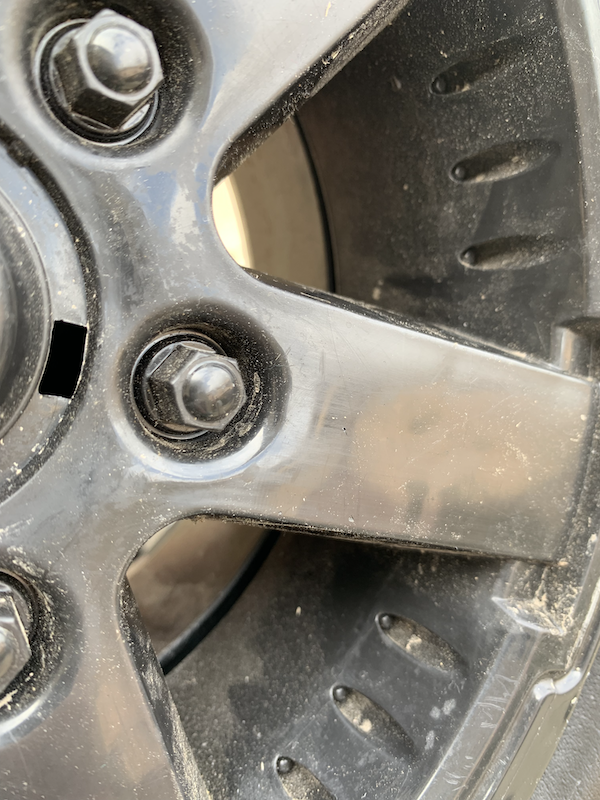
The rim / piece in the center of the wheel is made up of two parts; one part on the front and one on the back – held together with three screws.
5. Attach the front and back of the tire center to the new tire
At this point, we start putting back everything on the new tire that we just took apart. Start by attaching the front and rear of the tire center to the new power wheels tire.
Make sure to rotate the front and back pieces so that they click into place on the new tires. This should ensure that the screw holes align.
Note, as you screw together the wheels, there will be a gap in-between the front and back parts. As you screw them together, this gap will lessen but will not go away entirely. Just make sure the parts are aligned and to tighten up the screws as much as possible.
6. Place the wheel back on the axle and screw on the center axle lock
Again, just like it sounds. Set the wheel back on the axle and screw on the center axle lock. A quick tip here, a long screw driver is a lot easier to use to screw in the center lock.
7. Screw the decorative rim / trim back on
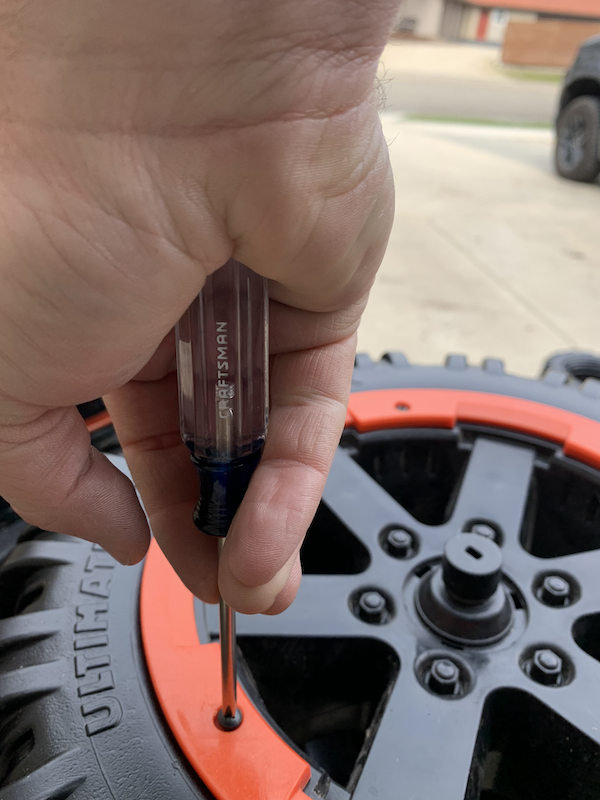
Screw the decorative trim / rim back on the Power Wheels Tire.
Some of the holes didn’t want to line up super clean and my screws had a flat tip so I had to put a fair amount of pressure on the screw driver to get the trim to attach.
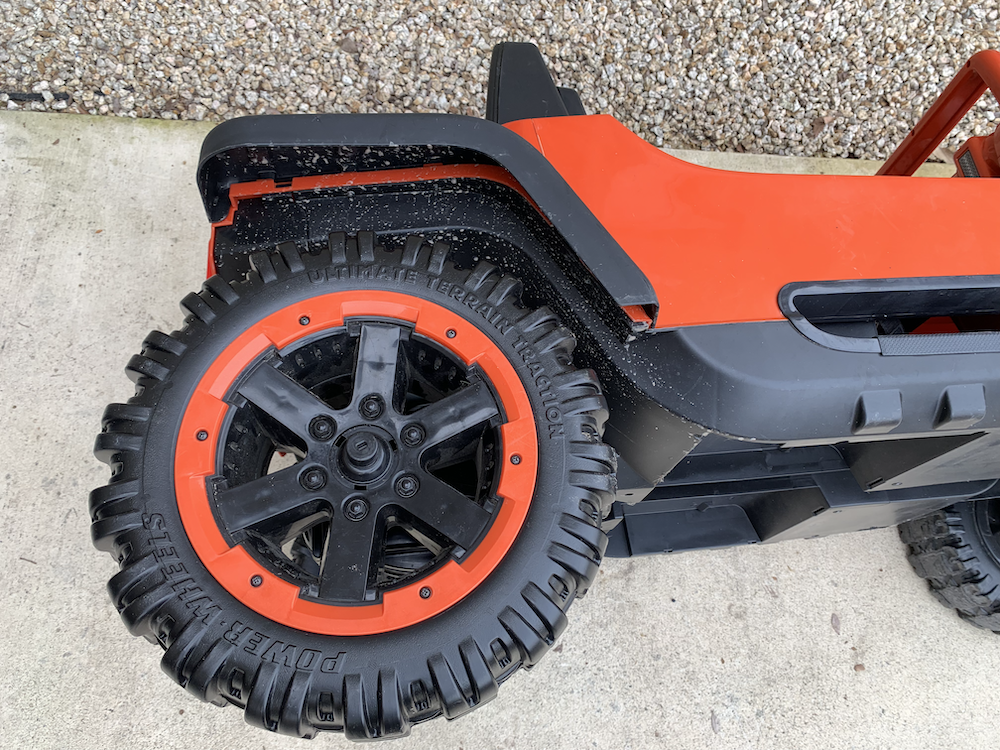
That’s it!
You should be done!
Steps to Replace Power Wheels Tires
- Remove the trim from the tires
- Unscrew the center axle lock
- Pull the tire off the axle
- Unscrew the back of the rims / wheel center
- Attach the front and back of the tire center to the new tire
- Place the wheel back on the axle and screw on the center axle lock
- Screw the decorative rim / trim back on