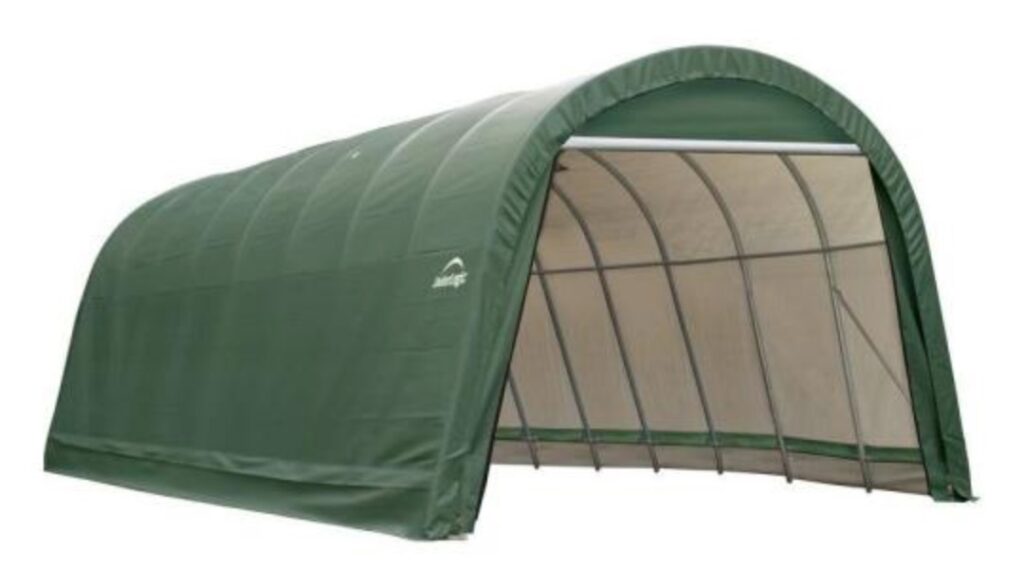
I recently purchased and setup a ShelterLogic 15 ft. x 28 ft. x 12 ft. Wind and Snow Rated Garage. When I was doing research on ShelterLogic garages, I often came across ShelterLogic reviews that said “the assembly instructions were really bad” or “the manual was missing information”. But none of these complaints actually said what was missing.
You can find official instruction manuals on the Shelterlogic website here in their comprehensive collection of manuals. You can download and print out a PDF for your specific ShelterLogic model if you have lost yours.
Note: Below, I have tried to outline ShelterLogic assembly instruction tips, what is missing from the instructions and what I wish I had found before putting together my canopy / portable garage. I assume this is applicable to most current models (such as the 10×20) but may be applicable to older models as well (pre 2020). This is for informational purposes only - always follow whatever the ShelterLogic installation manual and their official documentation and recommendations. As always, use good judgement when putting your carport together.
Measure Before Buying (and go big)
I got my ShelterLogic canopy to store my boat out of the rain and sun. There were a lot of different sizes to consider - from 10x20x8 all the way up to 30x40x18. I ended up going with 15x28x12, mainly for the length. My boat is 21′ plus a swimstep on the back and the trailer neck on the front. This comes out to right about 24′ - which should fit the 24′ long ShelterLogic tent, but in practice, it has been very convenient to have a little extra space.
If you’re on the fence (and you have the space), a larger size might make life a little easier.
Where to Buy Your ShelterLogic Canopy
Since I needed a larger, harder to find, canopy, I had to do a lot of Googling. Here are some of the sites with the better deals on ShelterLogic:
Note: I believe Amazon, Home Depot, and Walmart all had the best shipping policies (more on this below)
Free Freight Shipping
ShelterLogic canopies ship via freight - not UPS or FedEx. This means they show up with a big truck. While some stores offer free shipping, some companies charge an additional fee (which can be several hundred dollars) for lift gate service - if the truck doesn’t have a lift gate, you’ll need a fork lift to get it off the truck. Make sure to pay attention to this and factor in any additional shipping costs when comparing purchase prices.
People Required
I did the majority of the 15x28x12 model with myself and a friend. There were steps where we did need help (particularly around standing up the frame) and required a third person. On some of the smaller models, you can probably get away with just you and your best friend, but a third pair of hands is never a bad idea.
Setting Up the Frame
I found it helpful to lay it all out on the ground
Legs - Indents Out, Rough Side In
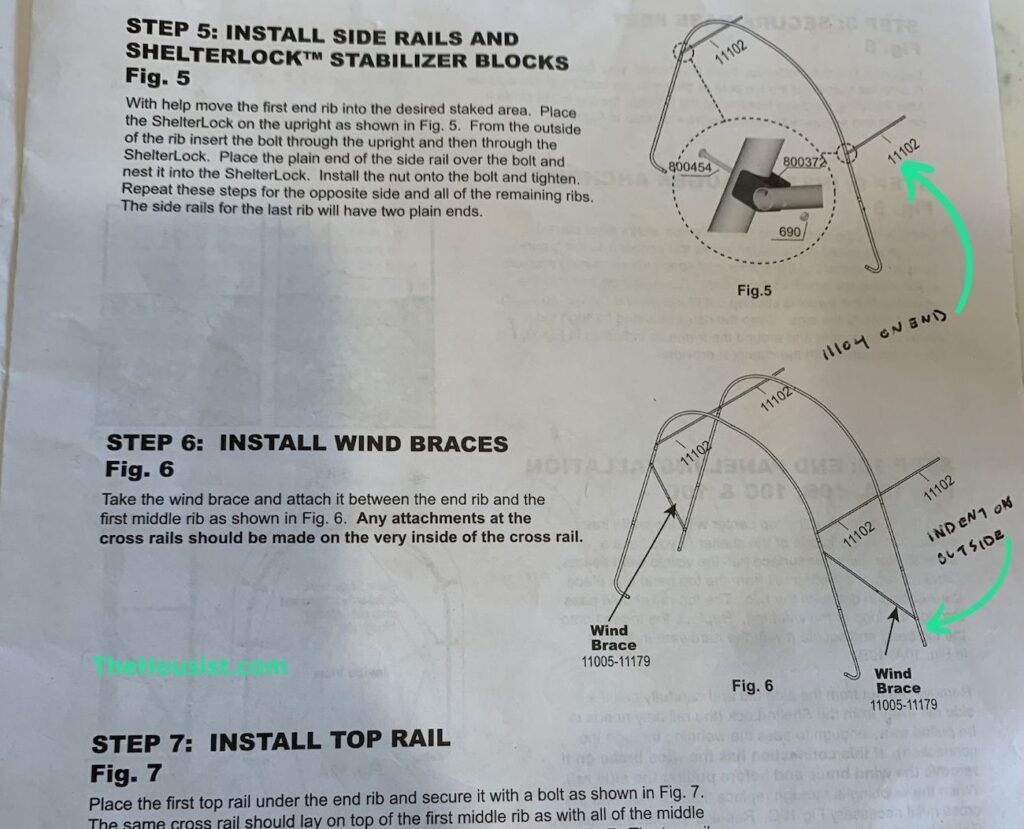
On the leg pieces, you’ll notice there is an indent for bolt heads. You’ll want these on the outside of the leg so that the rough punch out is on the inside and won’t put a whole in your canopy cover. Instructions don’t mention this.
End Side Supports
The instructions indicated that all of the side supports are part number 11102. In no time after putting together the first side, I learned that the last end pieces are a different part - they do not have a tapered sections since they do not have to fit into another support rail. Instead of part number 11102, you are supposed to use part number 11104. Note, I assume these part numbers are the same across similar modes but different products may have different numbered components. They may be different. The important part is that the last support rail is not tapered.
Annotations on Instructions
Attaching the Ends
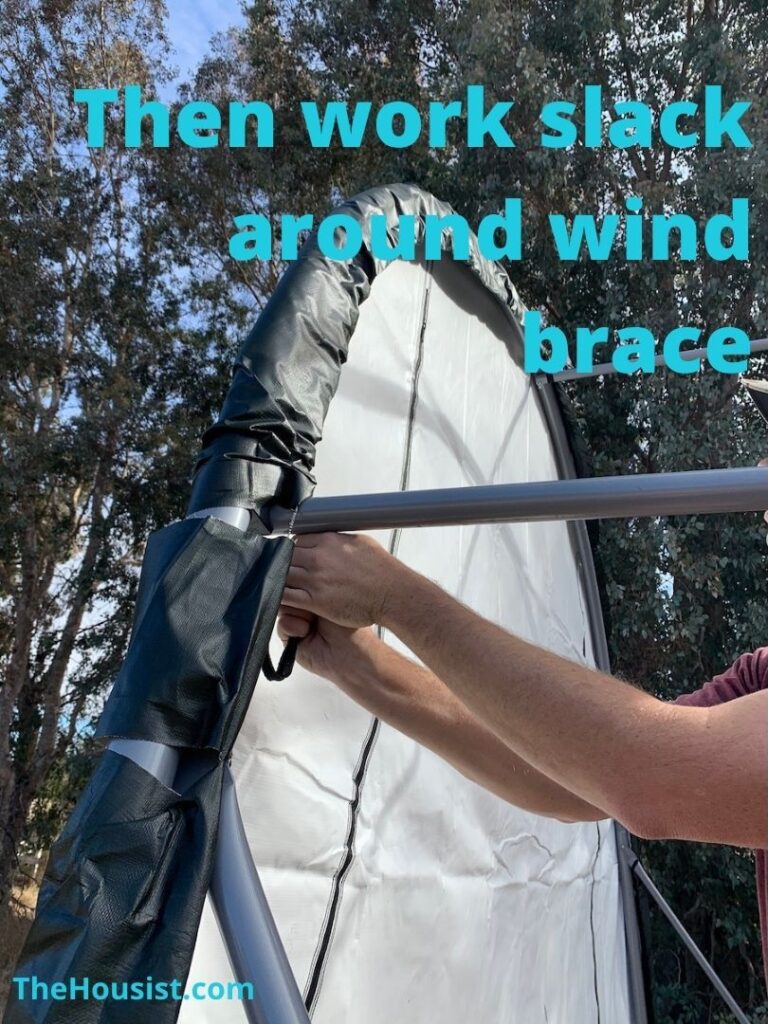
When you go to put the end canopies on the frame, the ShelterLogic instructions are not very clear how they are attached. You want to pull the loop out of the ends, over the side rail, and then around the connecting component (top, side, or wind support).
Also, when you are putting on the end tarps, you’ll want to pull a good amount of the tarp over the frame.
When you go to ratchet down the ends, it is helpful to cinch down on the webbing at the side rail support to remove the slack from the top part. This will help you make sure the tarp stays folded over and will expedite your ratcheting. Make sure you are careful and do not rip your canopy in this process!
Anchoring Your Shelter
ShelterLogic only sends out enough anchors to temporarily secure your shelter. They recommend you install an earth anchor on every leg. These are the options that I found when searching for more earth anchors:
Ok - I think that’s all of the steps that I had questions about or that slowed me down. I hope this helps answer your questions and saves you and your friends at least a few minutes (or hours) when putting together your carport / storage.
Also, I saw complaints about customer service. I can confirm it is not great, they were not responsive to my questions via email. You might have better luck with the phone.
Thanks and good luck!