Whether this is the first time you’ve had to figure out how to install a toilet or you’ve installed a few toilets in your day and are looking for a refresher before undertaking your current project, The Housist, has you covered. Below are step by step instructions with photos so even a beginner can install a toilet.
Time: 1 hour – 3 hours
Difficulty: Easy – Intermediate
Tools & Materials Required
- New toilet
- Tape measure
- Bucket
- Small cup
- Sponge
- Rags / Towels
- Screwdriver
- Utility knife / putty knife
- Needle nose pliers
- Wax ring
- Adjustable wrench
- Rag / newspaper
- Check Rough in Measurements
- Turn off Your Water and Remove Water From the Toilet
- Remove Your Old Toilet
- Inspect Your Toilet Flange
- Plug Your Hole
- Position Your New Toilet
- Install a New Toilet Wax Ring / Seal
- Set the Toilet on the Flange
- Secure the Toilet to the Flange Bolts
- Install the Toilet Tank
- Install the Toilet Seat
- Hook up the Water Supply Line
- Apply Caulking to the Base of the Toilet
Check Rough in Measurements
When installing a toilet, you should start with checking your measurements. When choosing a new toilet to install you will see a “rough in” measurement. This refers to the distance between the wall behind the toilet and the center of the flange. This distance is typically either 12” or 10” with 12” being the more common distance. You can dive into all the details on toilet rough in measurements here.
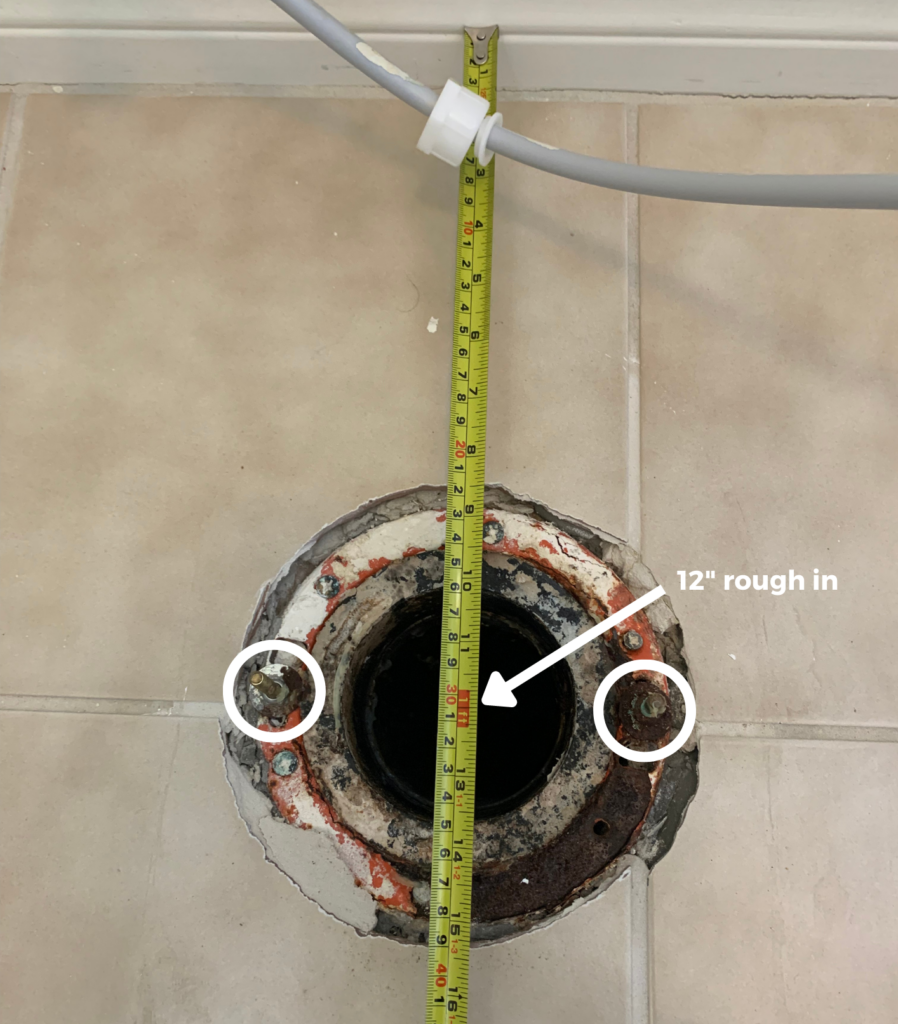
- To measure this distance, you can take a tape measure and measure the distance from the flange bolts, securing the toilet to the ground, to the wall.
- If your toilet is already removed, you can measure the rough in from the center of the flange to the back of the wall.
Choose your new toilet according to your rough in measurements to make sure the new toilet will fit in your space. More info here on standard toilet sizes which may be helpful in choosing your toilet.
Turn off Your Water and Remove Water From the Toilet
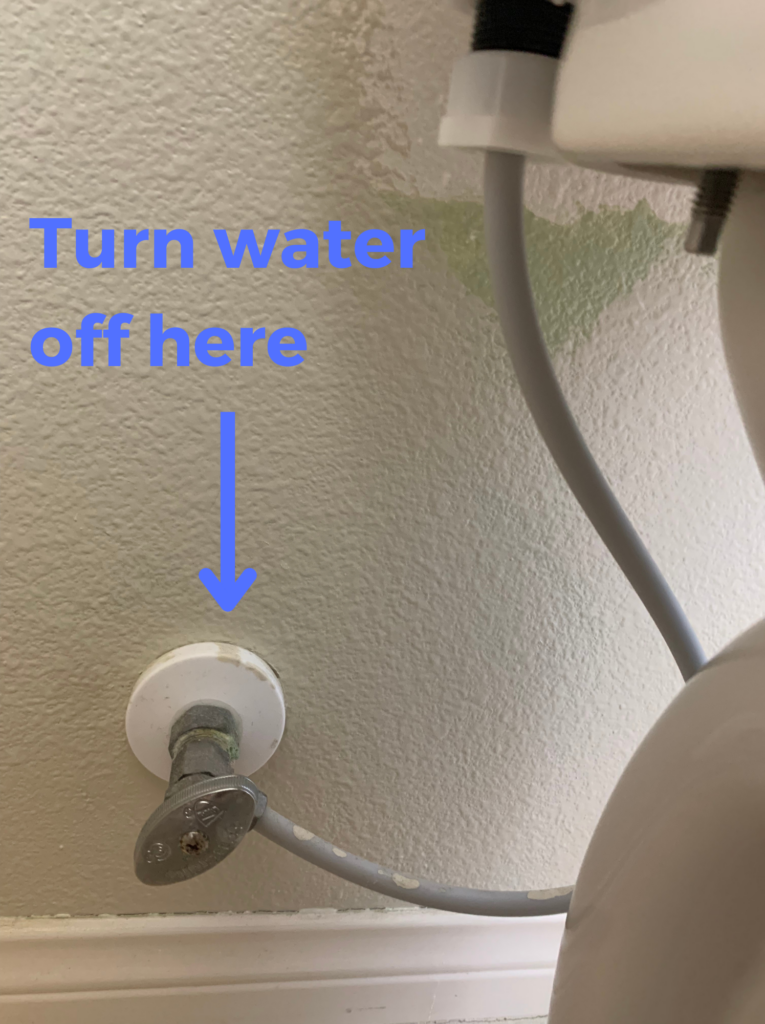
Start by turning off the water supply line valve. This should be located in the wall to the left of the toilet.
Then you’ll want to flush the toilet until all the water has drained out of the tank and toilet.
Note: If there is an object stuck in the toilet pea trap, you may not want to flush the water out of the toilet to avoid flushing the object into your sewer lines. If you find yourself in this situation; you can drain the water out of the toilet and tank using a combination of tubing / siphoning and a cup to scoop out water.
After removing the water from the toilet and tank via either approach above, you’ll still have residual water in the tank and bottom of the toilet that is difficult to remove. You can use a sponge to soak up this water.
Now disconnect the water supply line from your toilet. Even though you’ve turned off the water supply valve, you will still have water in this line. Try to have a cup nearby that you can dump this water into as well as a towel or rag to clean up any water that spills.
Remove Your Old Toilet
While removing the old toilet might sound daunting, it’s a pretty simple task:
Remove the caulking if your toilet has caulking sealing it to the ground (it should but not all do). This is simple but can be time consuming if the caulking is old and dried out. To remove the caulking, take a utility knife or putty knife and use it to cut the seal. Then pull the caulking strip out from around the toilet. Using needle nose pliers can be helpful to initially pull the caulking strip out.
Unscrew the nuts on the toilet flange bolts. Use a screwdriver to pry the caps off the flange bolts. Use an adjustable wrench to unscrew the nuts that attach to the flange bolts and secure the toilet to the floor
Set a large trash bag or construction bag on the floor in front of the toilet. You will put the toilet in this to avoid spilling any remaining water or touching any gross elements which happen to be on the bottom of your toilet anywhere in your house.
Pull the toilet up and off the floor. This is pretty straightforward but you may need to slightly rock the toilet side to side to break any suction or seal that has developed as a result of the toilet sitting in place for years. Pick up the toilet and walk it forward into the bag. It will be helpful to have a second person help pull the bag up around the toilet but it can be done with one person.
Remove the wax ring if it was stuck to the toilet flange and did not come off with the toilet. You can do this with a putty knife – or a disposable knife if you prefer.
Inspect Your Toilet Flange
At this point, with the toilet out of the way, you should inspect your toilet flange to make sure it is in good condition. If the flange looks cracked, broken, or worn out, you should also replace your flange.
Plug Your Hole
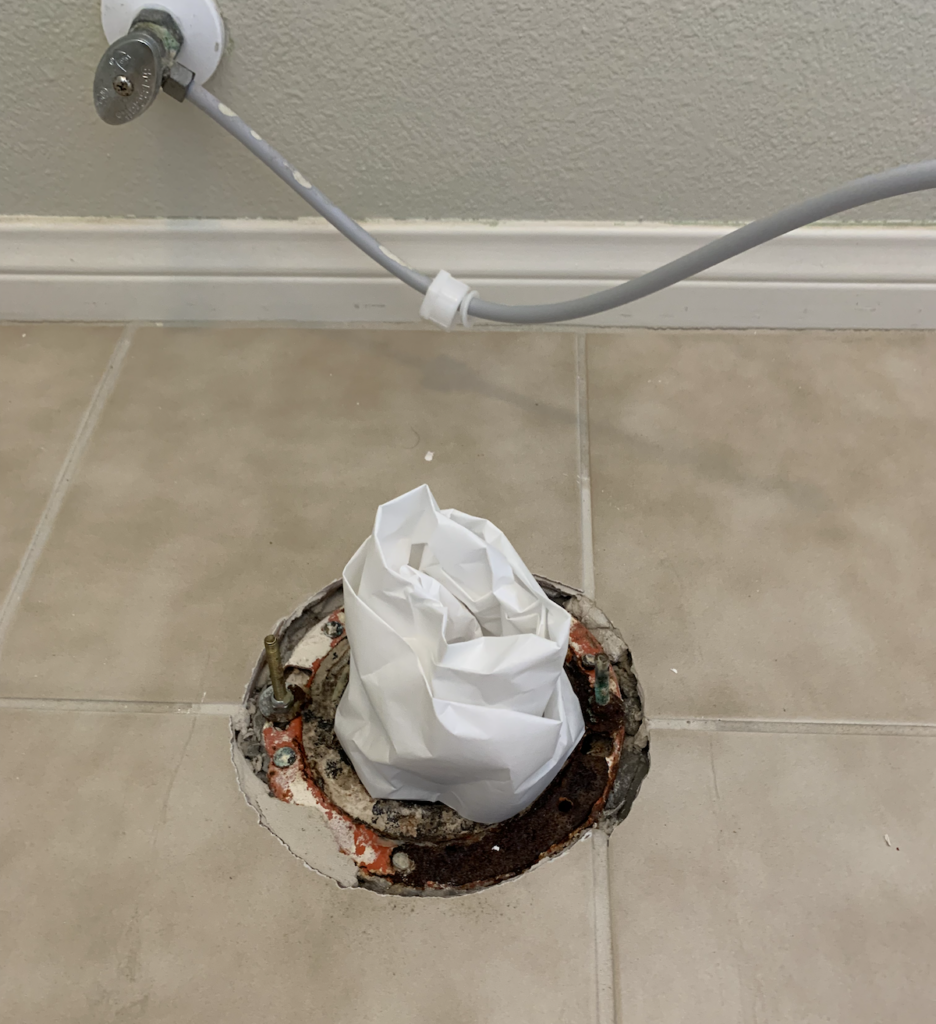
In order to avoid anything falling into the flange and your sewer line (and to avoid sewer odors), you should plug the flange with a rag or crumpled up newspaper.
Be very careful to make sure that the object you are using to plug the flange is large enough to not fall down into your sewer line!
Position Your New Toilet
In order to make installation as easy as possible, it’s advisable to cut open the box for your new toilet and position it so that you will not need to turn it around when you are moving it from the box to the toilet.
Additionally, it’s helpful to move it as close as possible to where the toilet will need to be installed.
Install a New Toilet Wax Ring / Seal
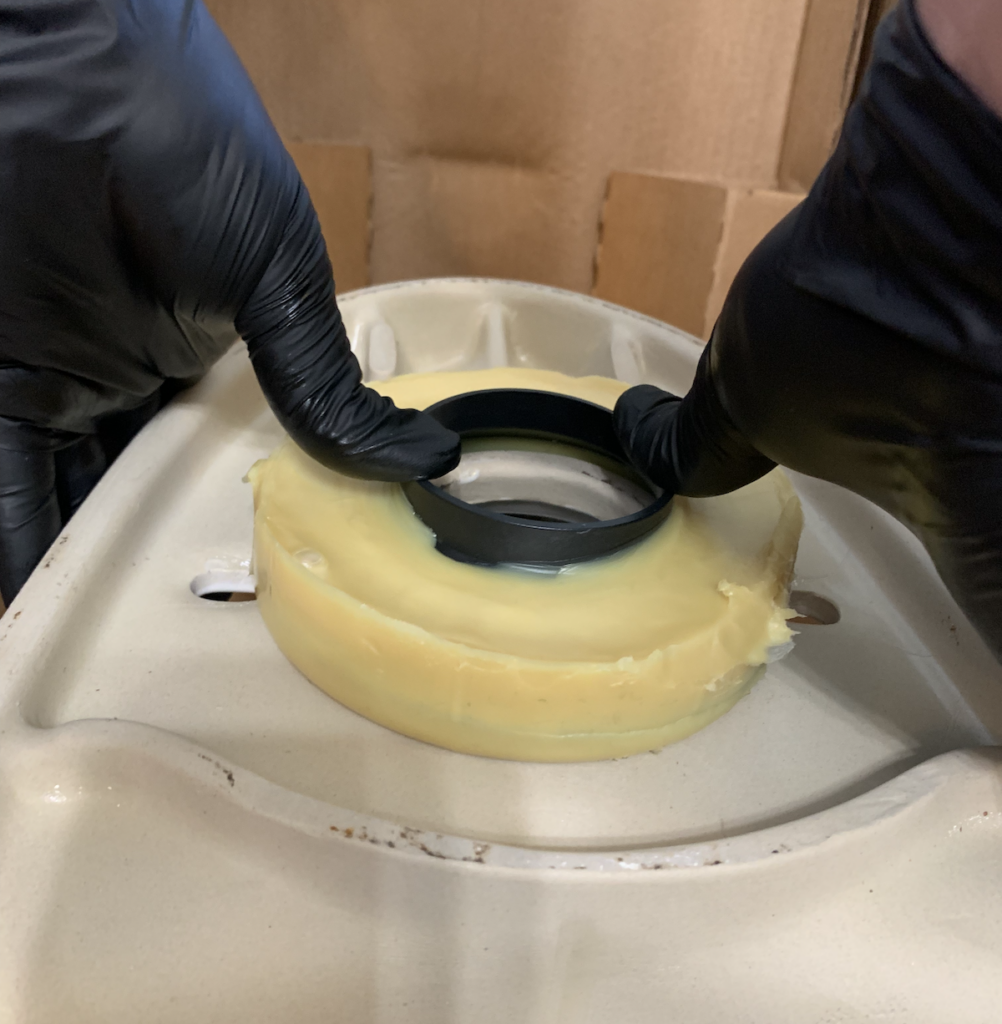
The next step is to install the wax ring / toilet seal. These have typically been wax rings but now you can find reusable foam seals. Typically, I’ll buy the extra thick wax ring with reinforcement – for a couple extra dollars the added thickness and funnel provide extra security and peace of mind.
To install the wax ring, firmly press the ring against the underside of the toilet.
Set the Toilet on the Flange
Now that the wax ring is secure on the bottom of your toilet, remove your rags plugging the flange hole and place the toilet on the flange.
You’ll need to make sure it’s centered on the flange and to thread the two flange bolts through their corresponding holes in the base of the toilet. This is another part of the process where it is helpful to have a second set of hands and eyes to guide you into place.
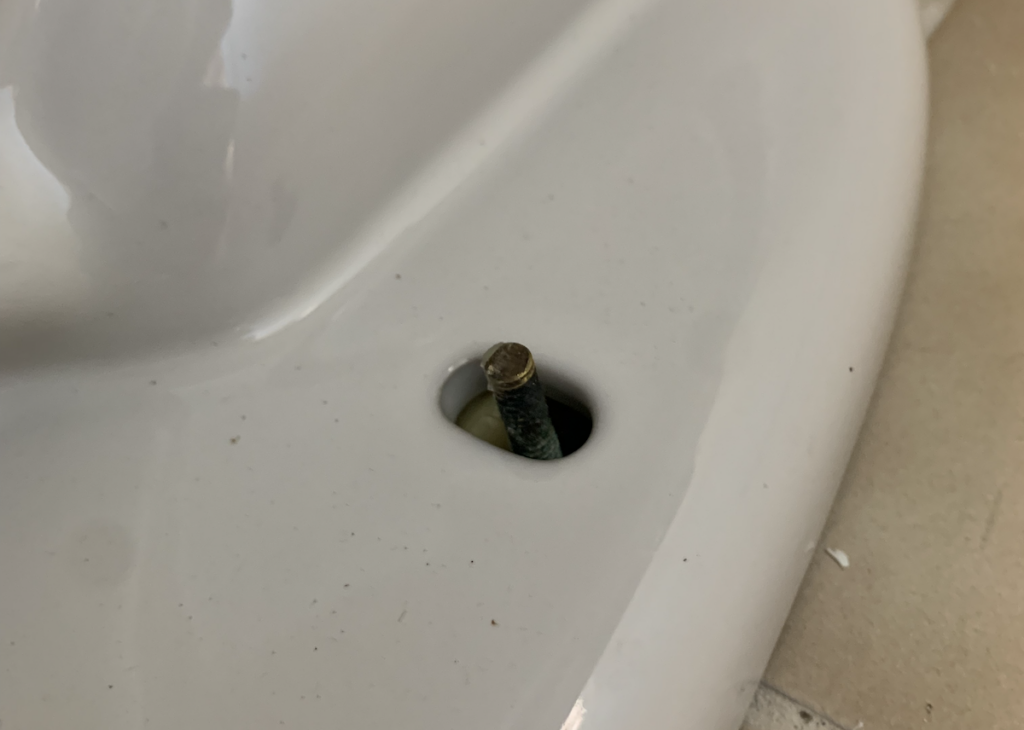
Secure the Toilet to the Flange Bolts
With the toilet on the flange, you’ll want to use the new nuts provided to secure the toilet to the ground via the flange bolts.
Some toilets will provide a plastic tool to help you tighten the nuts to the bolts. If this is not provided use your adjustable wrench. Other toilets come with bolts meant to be hand tightened and don’t require any tools (as in our example). These should be secure but not overly tight to avoid damaging the toilet or flange.
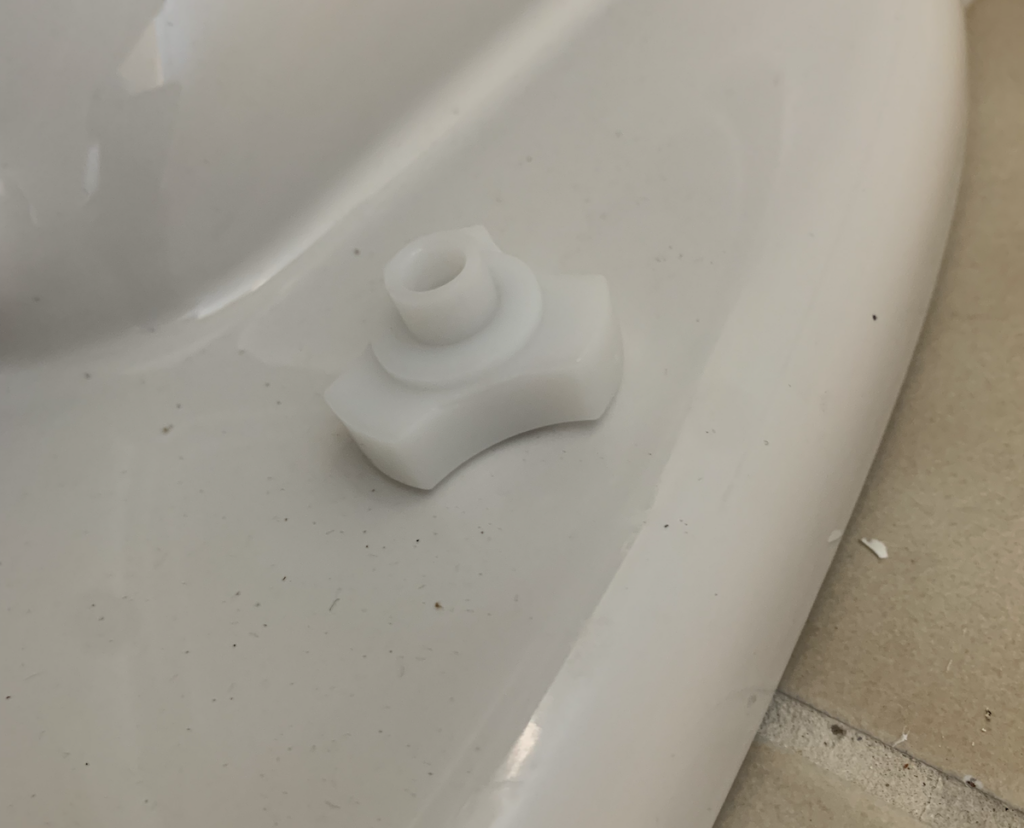
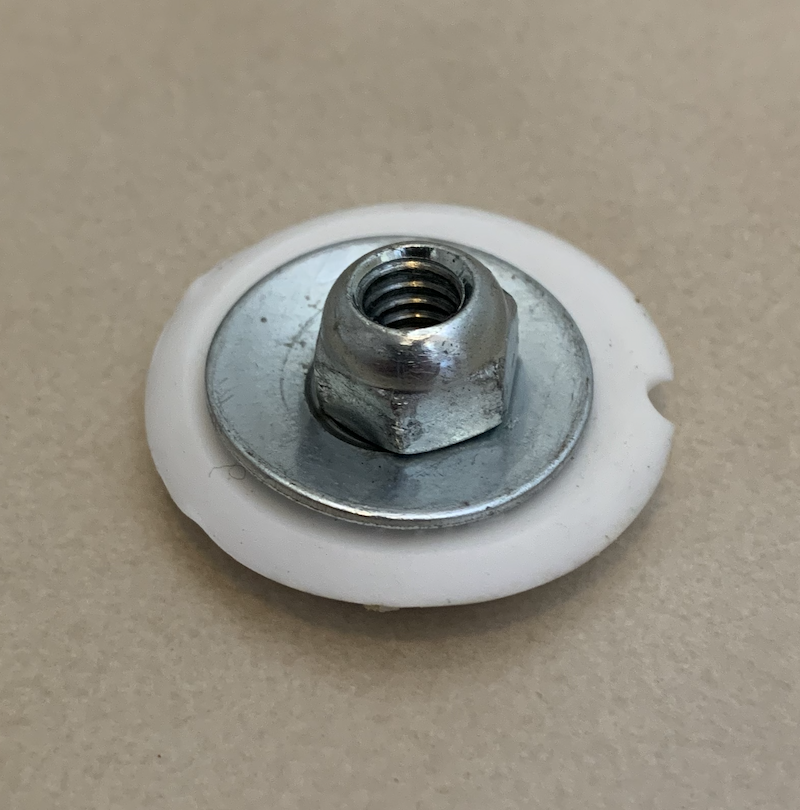
Now, put the caps over the bolts. If your bolts are too long for the caps to properly fit, you’ll need to use a hacksaw to cut them down.
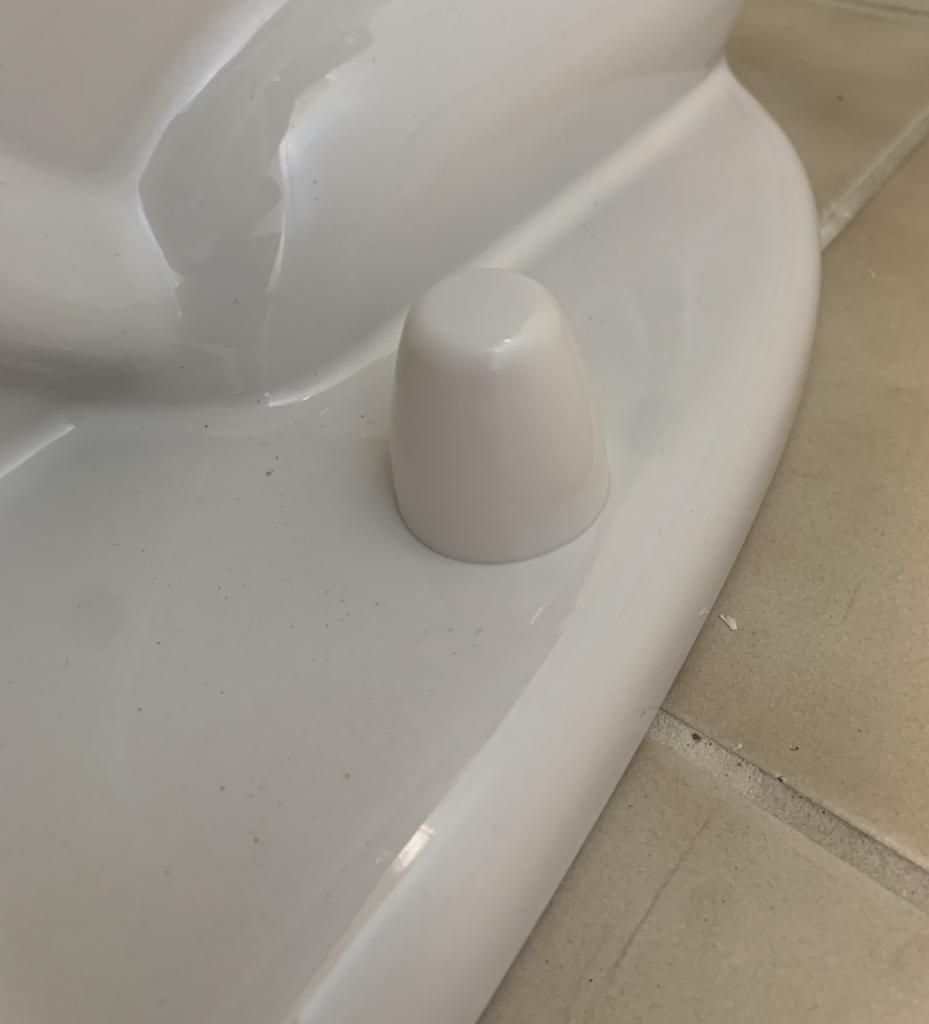
Install the Toilet Tank
The next step is to install the toilet tank onto the base of the toilet. To do this, you will need to start by installing a rubber seal on the bottom of the tank.
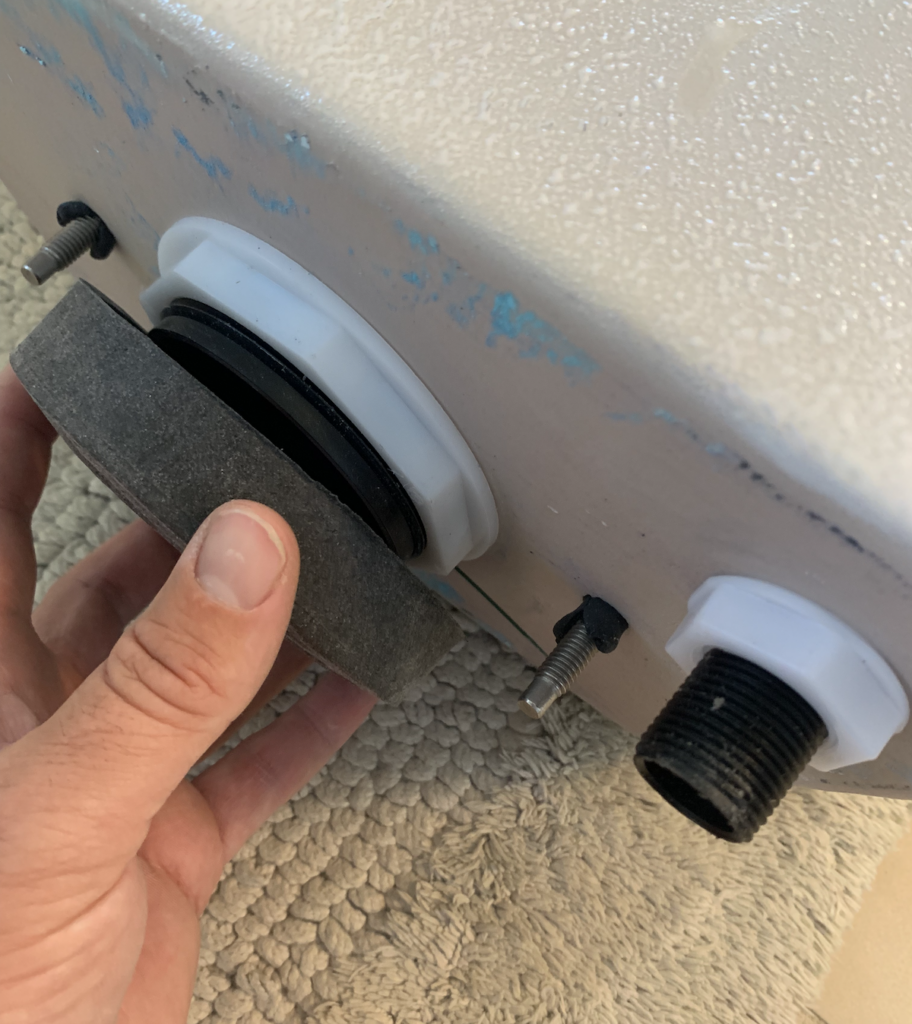
Then set this tank onto the back of the toilet. To secure the toilet, you’ll need to thread on the toilet tank nuts onto the tank bolts (which should be going through holes in the base of the toilet).
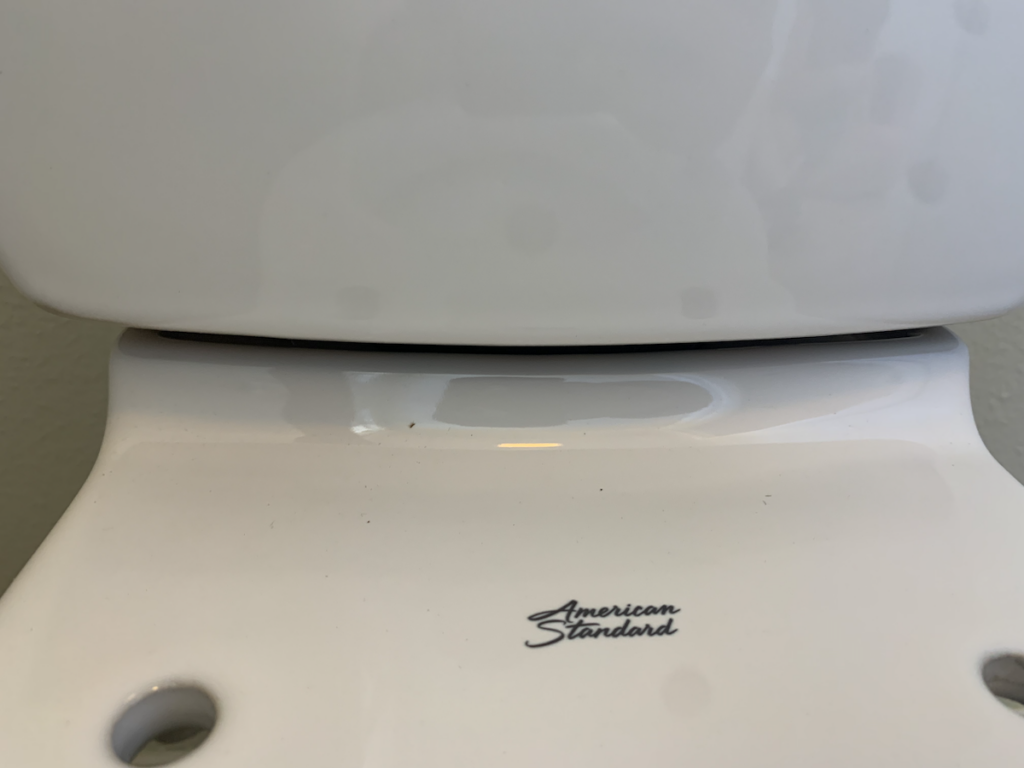
At first hand tighten the nuts on both sides. Then use the tool (or wrench if no tool is provided) to tight the nuts – incrementally tighten one side, then switch and incrementally tighten the other. Alternate tightening the nuts until the rubber seal is squished and the porcelain tank is touching the porcelain base.
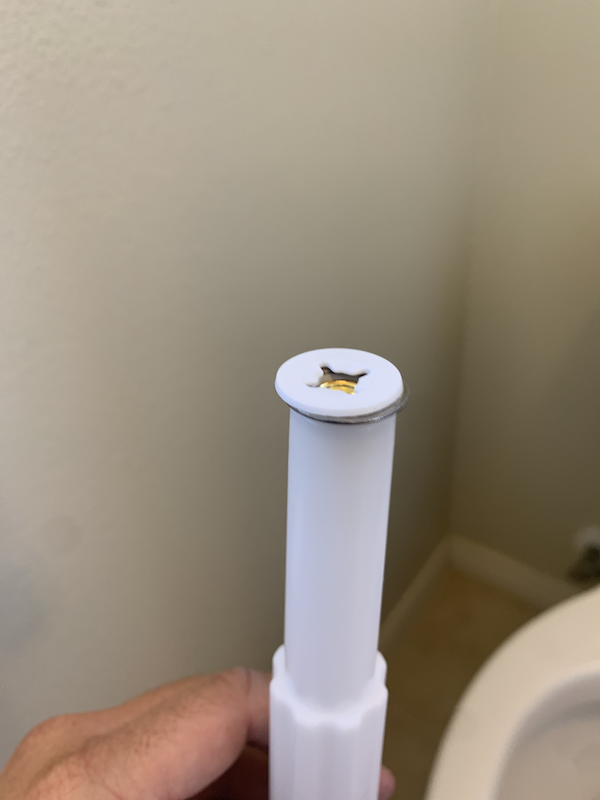
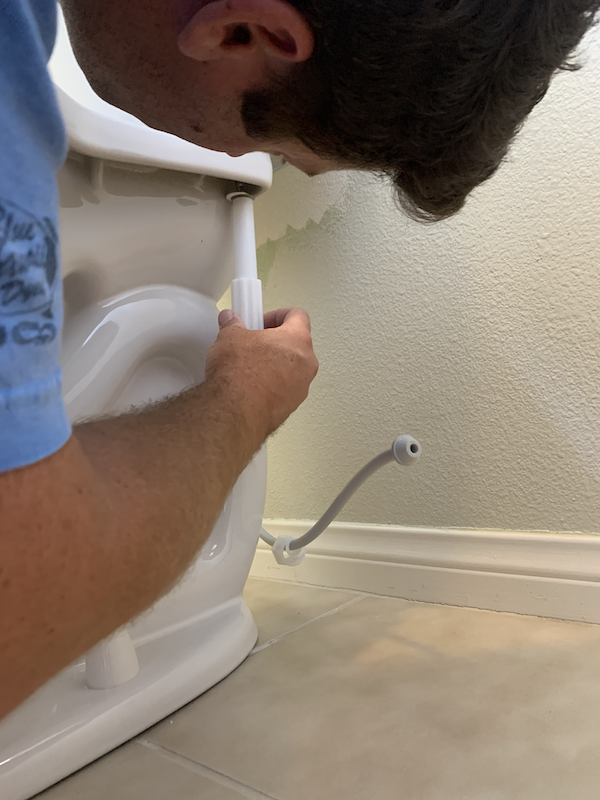
Install the Toilet Seat
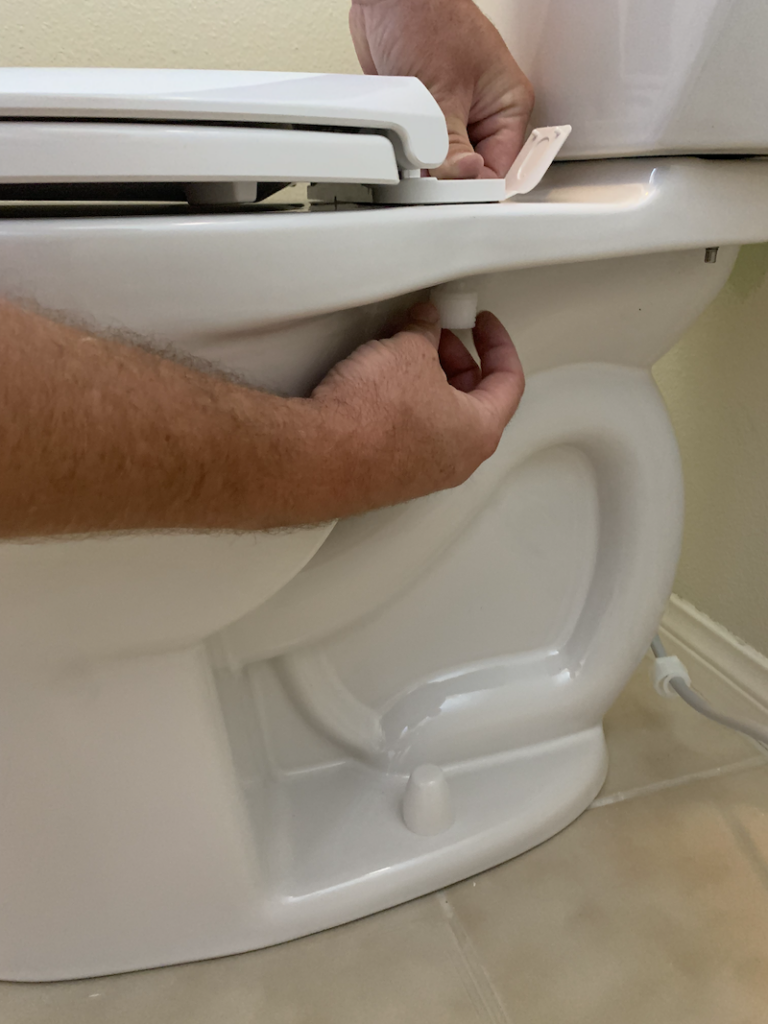
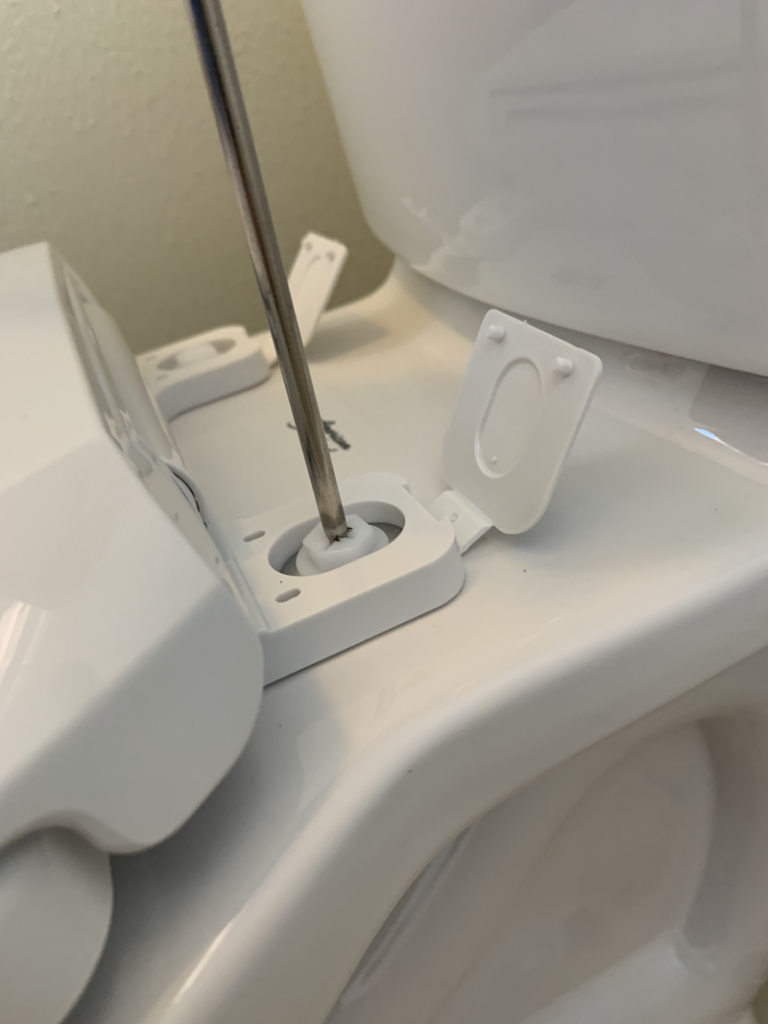
You’re almost there, it’s starting to feel like a fully installed toilet! With the tank attached, install the toilet seat. Simply place the toilet seat bolts through their corresponding holes and use your hand to screw on the toilet seat bolts.
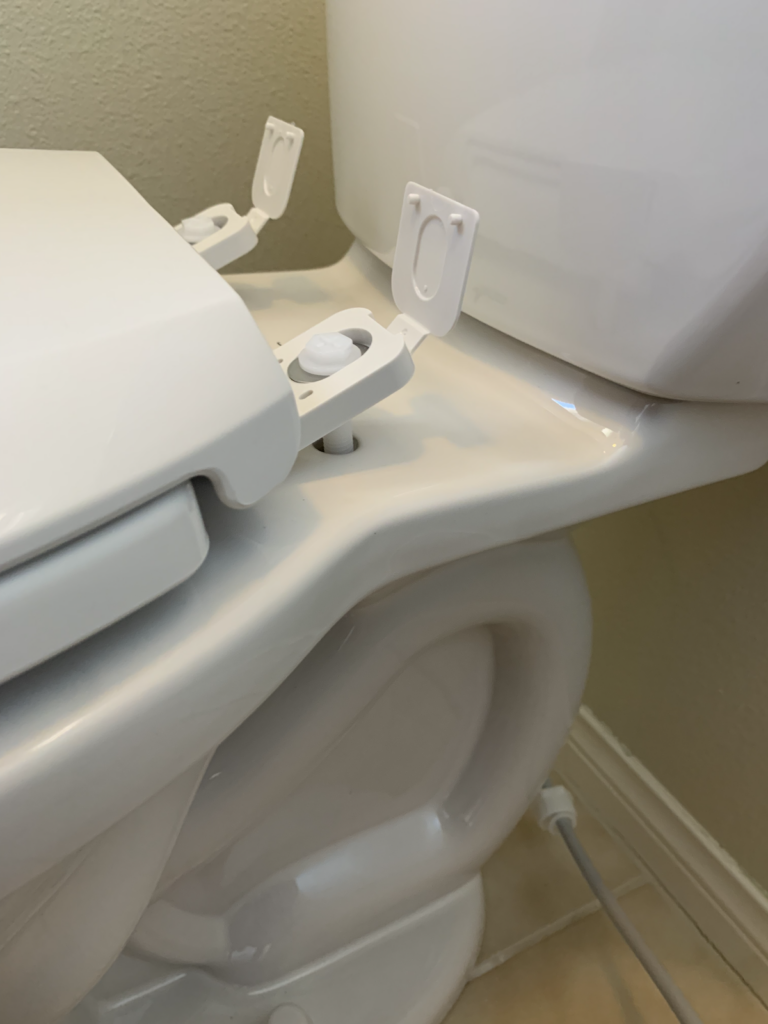
Attach the nuts onto the plastic toilet seat bolts. Then make sure that the the front of the toilet seat is correctly aligned with the front of the toilet (not too short or too long). Then use a screwdriver to tighten and secure the toilet seat to the base.
Hook up the Water Supply Line
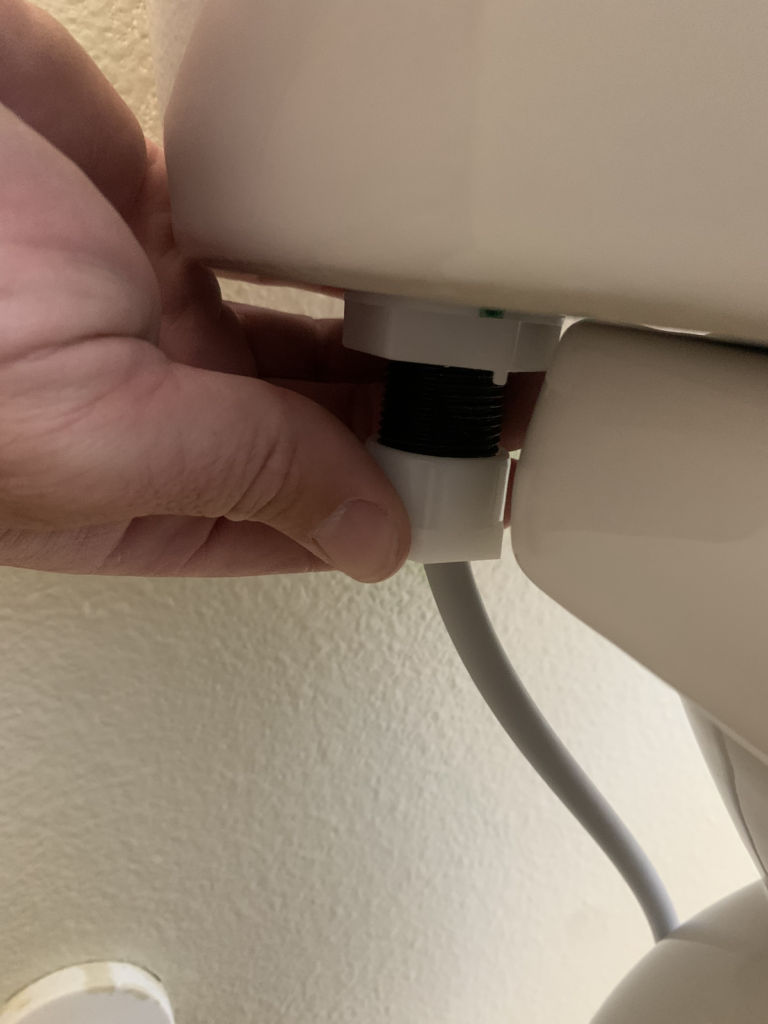
The next step is to hook up the water supply line. To do this take the water supply line and attach it to the bottom left of the tank. Hand tighten this! Over tightening can cause damage to the water supply line which can cause leaking.
Then turn the water supply line valve on. Ensure that the toilet is properly filling (and stops at the appropriate level). Flush the tank to make sure that everything is working properly.
Inspect the water supply line connections for leaks. After 20 min, come back and re-inspect the water supply line for leaks and look for water on the ground – this should help identify any slow leaks.
Apply Caulking to the Base of the Toilet
Finally, apply a bead of caulking around the base of the toilet. Make sure the area around the base of the toilet is clean and free of debris. Use a kitchen and bath caulk.
Apply a consistent bead of caulking around the base of the toilet – you can use your finger to smooth it out. This caulking will create a waterproof seal around the toilet.